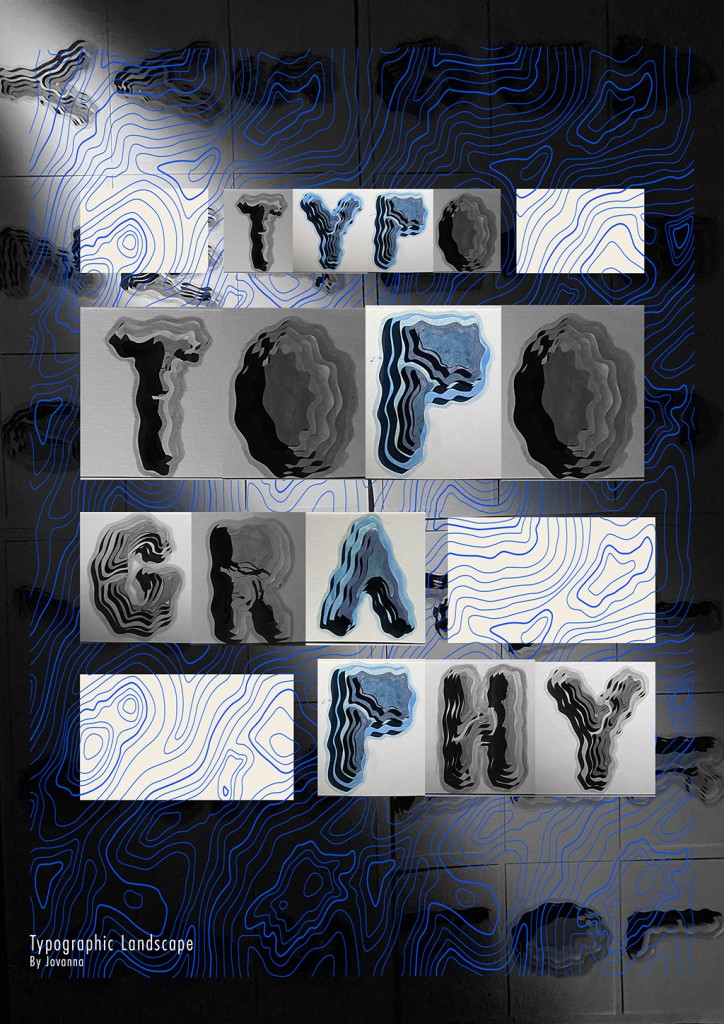

This curiosity led me to create a three-dimensional typographic artwork inspired by topographic maps, paper-cutting, and the idea that words, like landscapes, can hold depth, structure, and meaning.
Where the Idea Began
The earliest spark came from back when I was still on junior high school in Indonesia. I had an art class which makes us make a 3D-layered paper craft. To me it was interesting because it’s both appealing and fun.

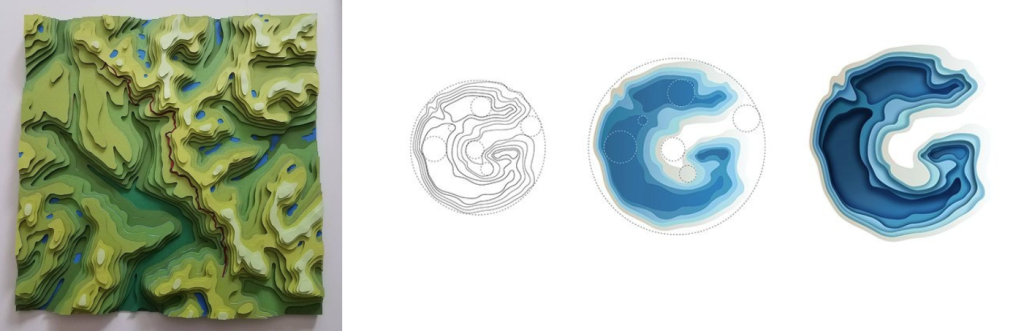
I tried browsing on Pinterest, where I find images of intricate paper-cut layers art. They reminded me of topographic maps — those beautiful contour lines that show mountains, valleys, and terrain.
What fascinated me was how both typography and topography rely on lines, spacing, and form to communicate something invisible. A topographic map turns geography into lines. Typography turns language into shape.
I started wondering: What if I combine these two ideas?
What if letters could feel like landscapes — built up in layers, with depth and rhythm, instead of just flat shapes on a page?
The Original Concept
From that question, the concept became clear:
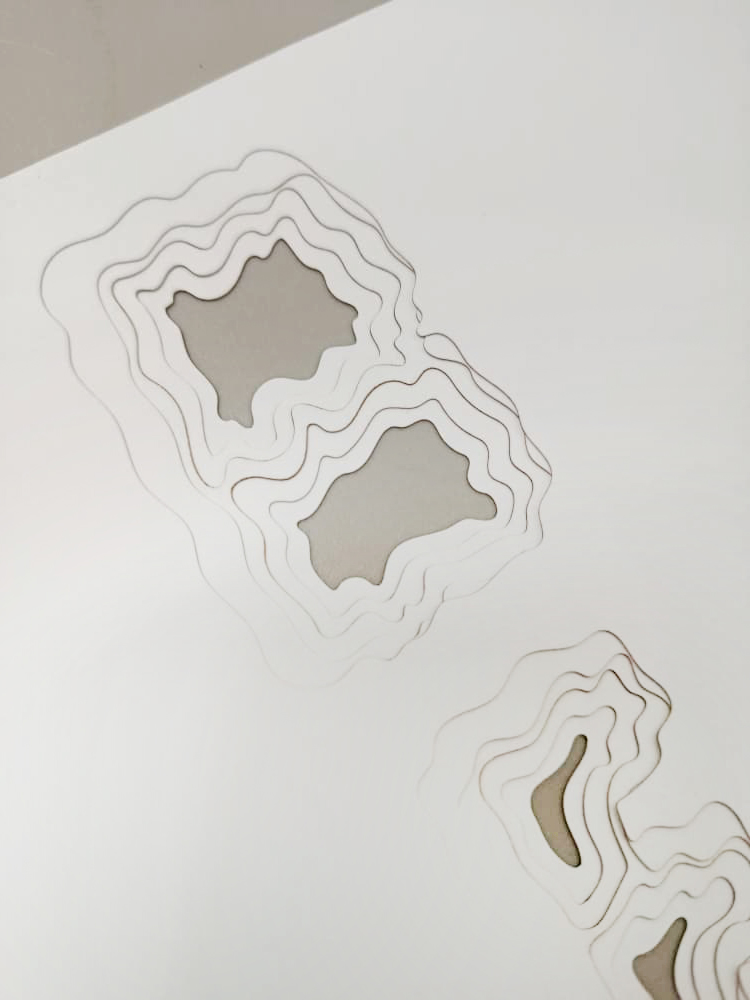
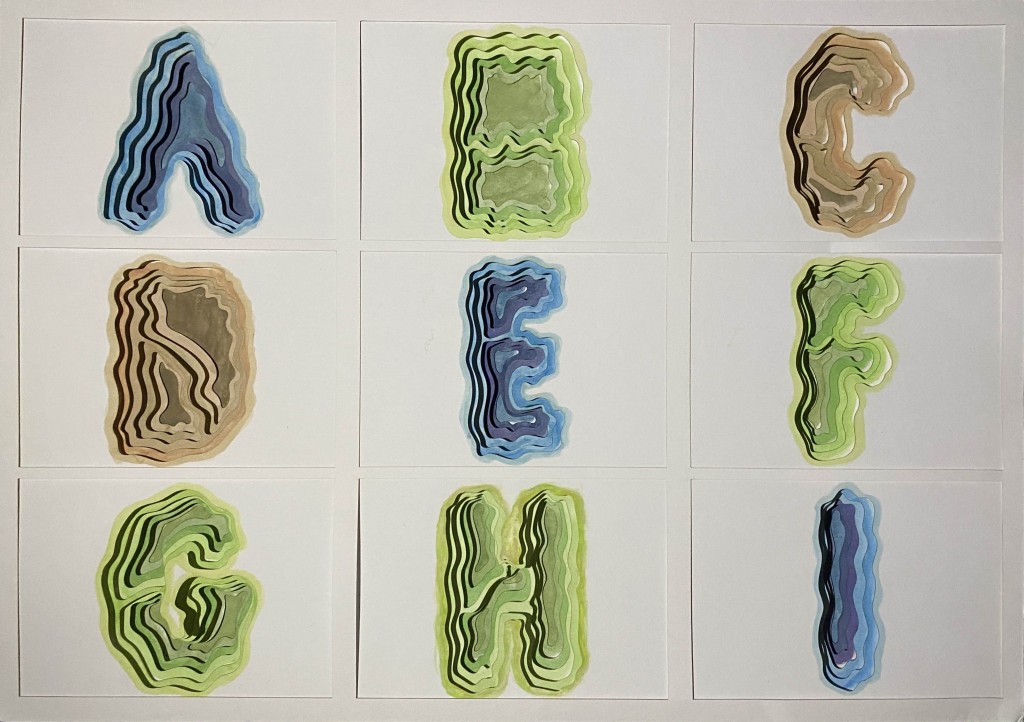
I wanted to create a typographic composition that looks like a carved or layered terrain, where each letter is formed by stacked paper layers, similar to contour lines on a map.


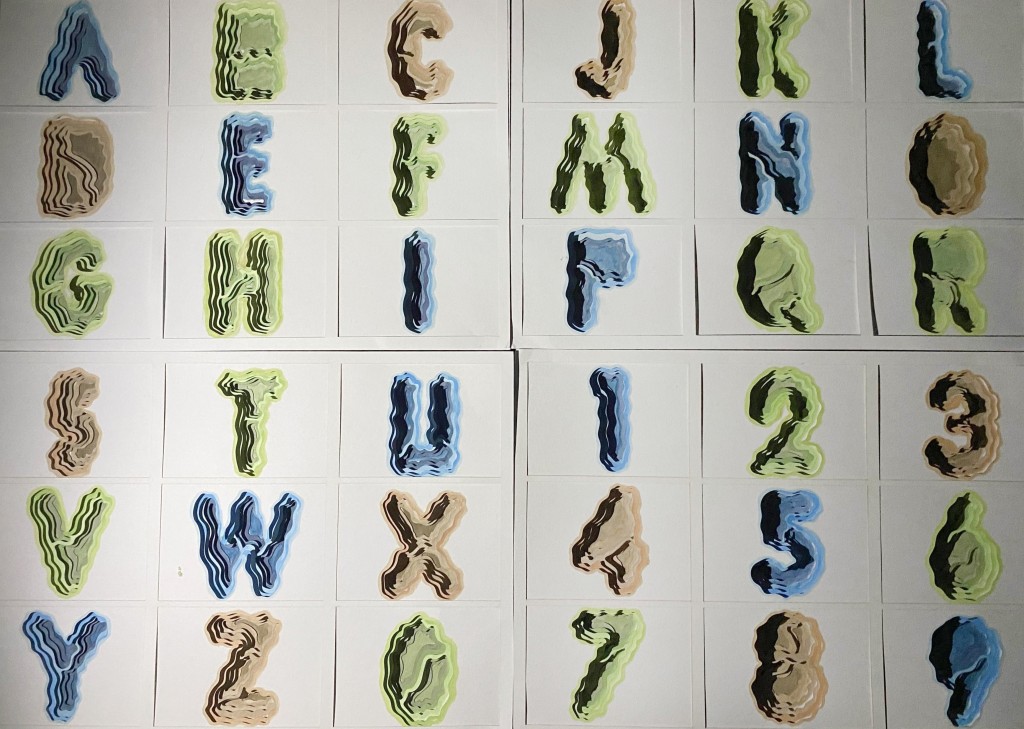
Rather than choosing a playful or decorative typeface, I chose one that felt strong, clean, and geometric which is Futura Std Extra Bold Condensed. This allowed the layered effect to stand out without being visually chaotic. The goal was to let the structure do the talking — to show that typography isn’t only about reading, but also about form, texture, and physical presence.
From Digital to Physical
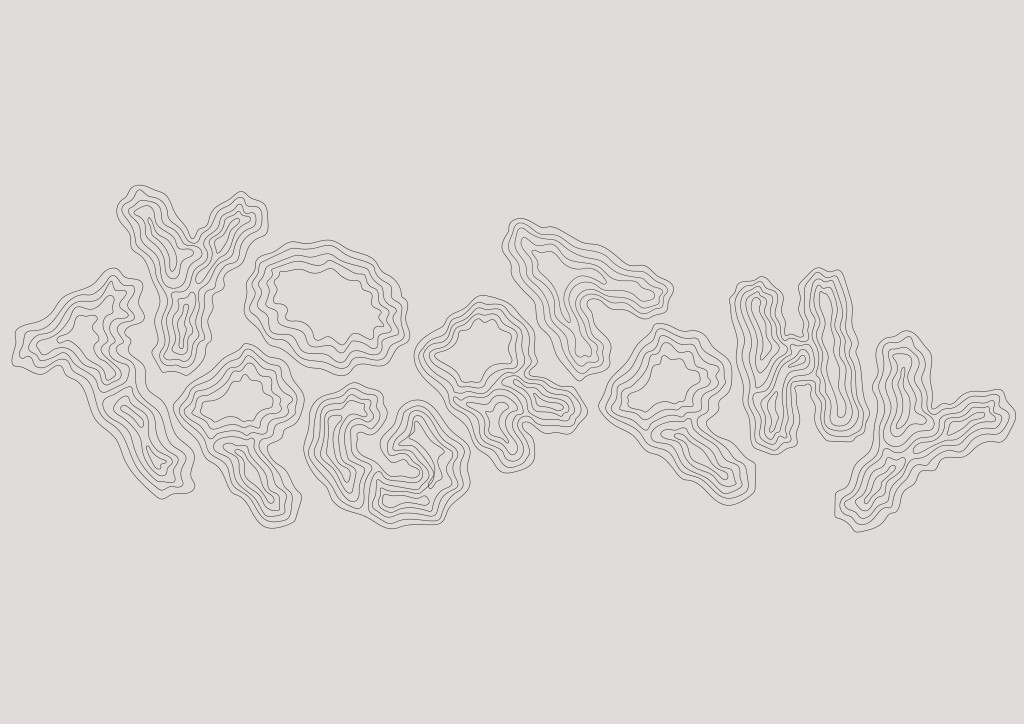
The process began digitally. I designed the letters in Adobe Illustrator, carefully preparing them so that each layer would align perfectly when stacked.

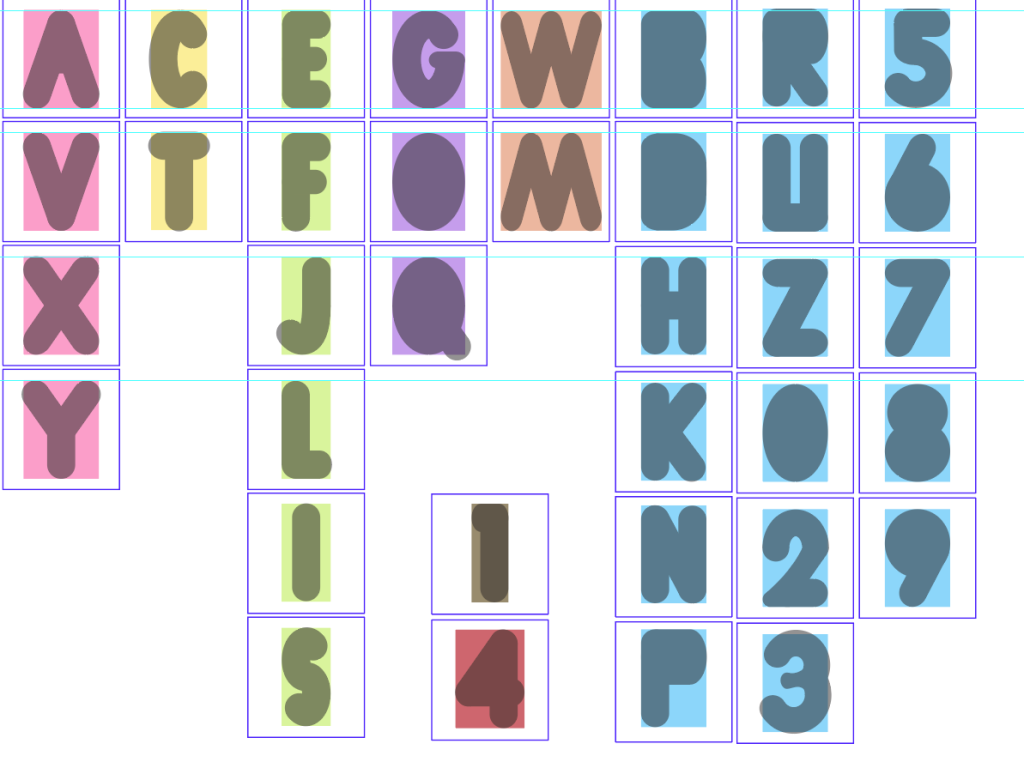
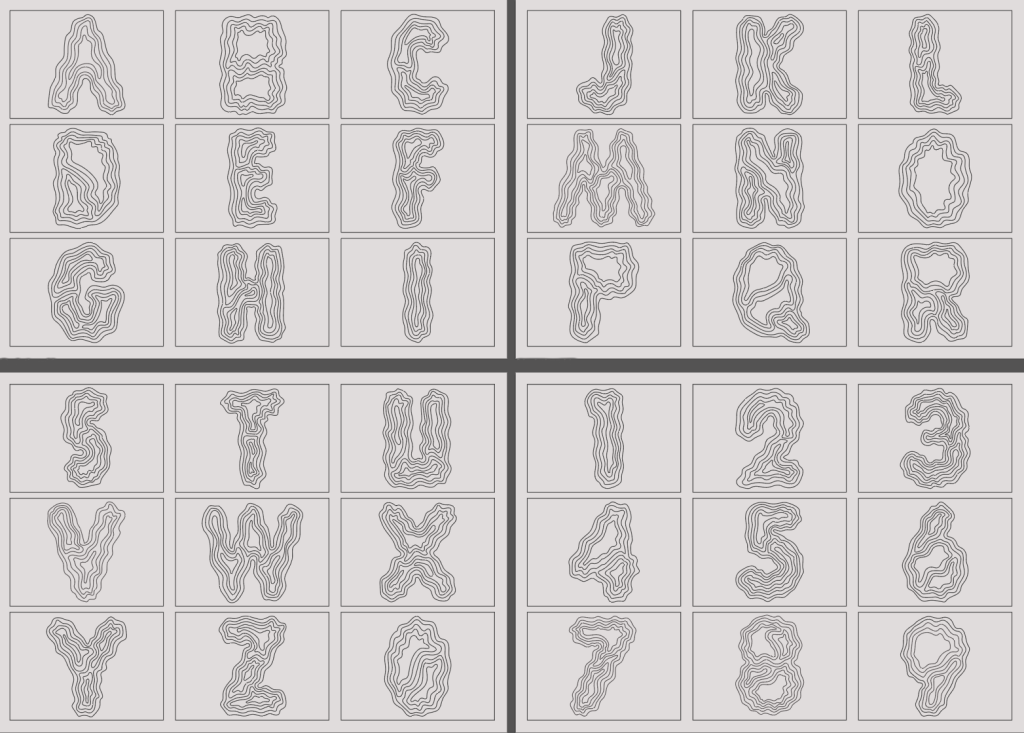
I made a rounder version of Futura and studied its size on each letter. I noticed there are 6 noticeable shape and create my own font using that size as guideline.

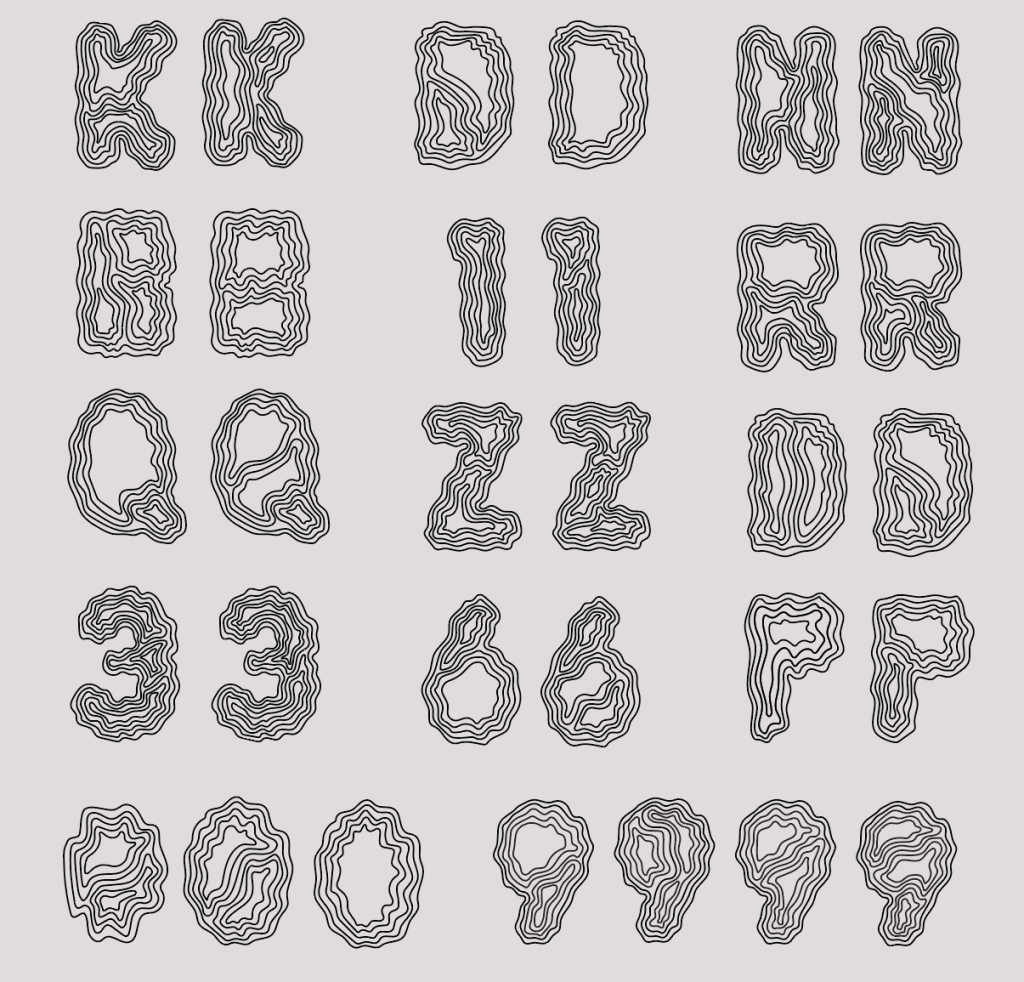
The method I use to create the layer to it is by hand. I wanted to make them abstract like earth terrain, so I drew each one by one with their own personality. I made many iterations and chose one that are the clearest and fits the tone.

At first, I planned to cut everything manually. I printed the outlines and started cutting with a blade, thinking it would give the work a handmade, authentic feeling. But very quickly, reality set in. The shapes were too complex, the edges became messy, and the accuracy I needed simply wasn’t possible by hand.

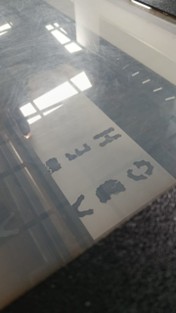
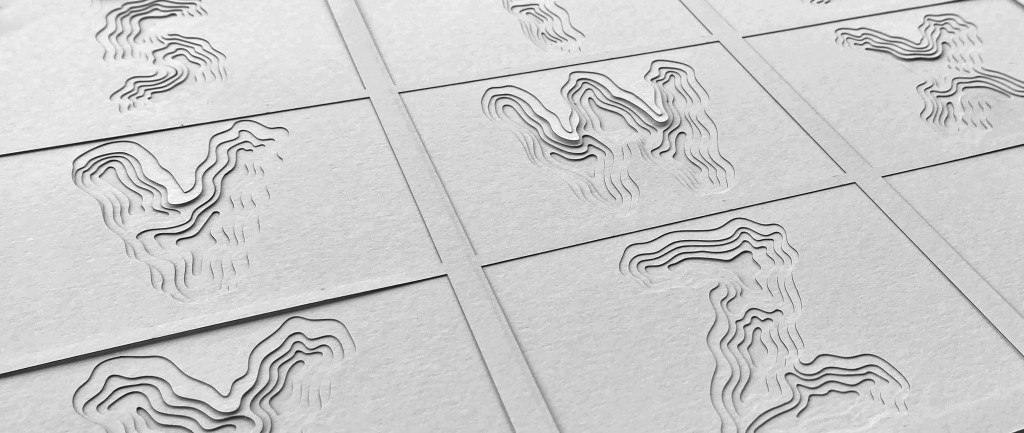
That frustration became an important turning point. Instead of forcing the original plan, I decided to use a laser cutter which was also recommended. This wasn’t about making the work “easier” — it was about choosing the right tool to bring the concept to life properly. With the laser cutter, every layer was clean, precise, and consistent, allowing the stacked typography to look intentional rather than accidental.

This process however is not as simple as it looks as I had many fail attempts due to my work being very small compared to the machine. It is a trial and error until I get the best results. I got unaligned layer and this is a tedious process of precision.
Building the Layers

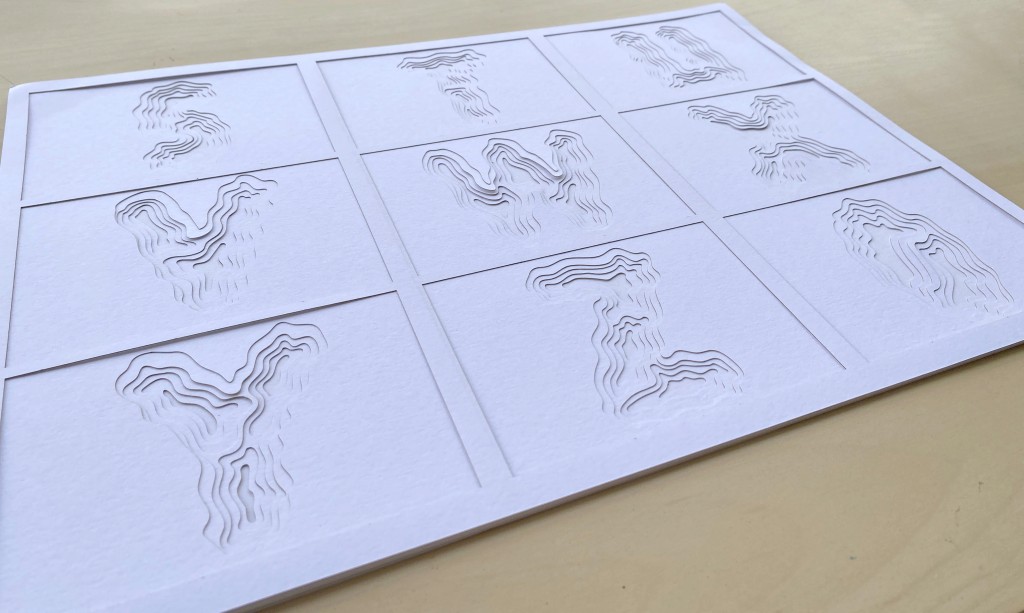
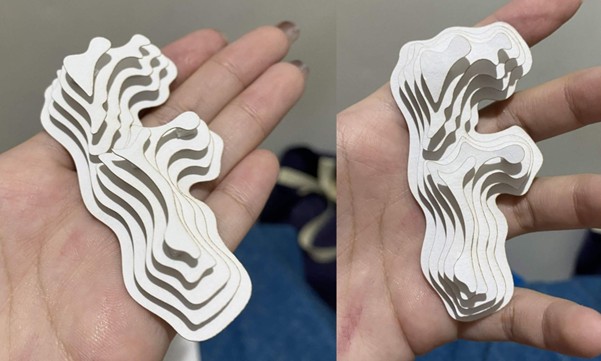
Once the pieces were cut perfectly, the real work began. Each letter was assembled layer by layer, carefully stacked to create depth.

I spent a lot of time to sort out the cutouts because I wanted to create the opposite which would create a mountain layer, but I stopped this idea due to the limitations of the time.
Next thing is to color each layer to enhance depth effect. I used watercolor as it gives a unique finish. Here, I also thought about the color direction because at the end, this work will be placed next to each other.

In this moment, the project truly came alive. What was once a flat digital design slowly turned into something sculptural. Shadows formed between the layers. The edges created rhythm. The typography started to look less like text and more like a miniature landscape.
There was something deeply satisfying about this stage — watching something abstract become tangible. It reminded me that design doesn’t have to stay on screens; it can exist in physical space too.
Photographing the Final Work

Because this project relied so much on depth and layering, photographing it was just as important as creating it. I experimented with lighting and angles to make sure the shadows emphasized the layered structure instead of flattening it. It looked 3D as a result of the light hitting the layer.


The goal was to let the photos communicate what the piece feels like in real life — that sense of depth, texture, and dimensionality. In a way, the photography became a second layer of design, translating a physical object back into a visual story.
What This Project Taught Me
This project taught me that typography is far more than choosing fonts and arranging letters. It is about form, space, and how meaning can be shaped through visual structure.