


Concept idea
The issue I wanted to solve was easily the quickest part of this project. Before entering university, I was often asked to assist my parents in designing for their travel agency. Looking for inspiration from other agencies, I found that most had simple, plain designs, but it was more than the layout, the choice of the typefaces did not exude fun. This bothered me.
I correlate traveling and adventure with fun and I wanted to incorporate this idea into the designs I was creating. Somehow, I was never able to find any font that served the ‘fun’ feeling yet retained the readability for the older demographic. I understand that the market for these agencies is mostly the older age group who need assistance with their travel plans. In addition, I wanted my typeface to be accessible for everyone.
This became the main idea — create a typeface that balances fun with simplicity and readability. The vision I had in my mind for this font was a thick, wider letterforms with rounded edges and subtle imperfect lines. The thick and wide letterforms ensures readability while the rounded edges and the imperfect strokes exhibits the ‘fun’ I aimed for. Initially, I had an alternative idea, a reverse-contrast version. Truthfully, I preferred the alternative to the original idea. However, remembering that the aim for this font was to keep it simple and readable so I decided to proceed with the original idea.
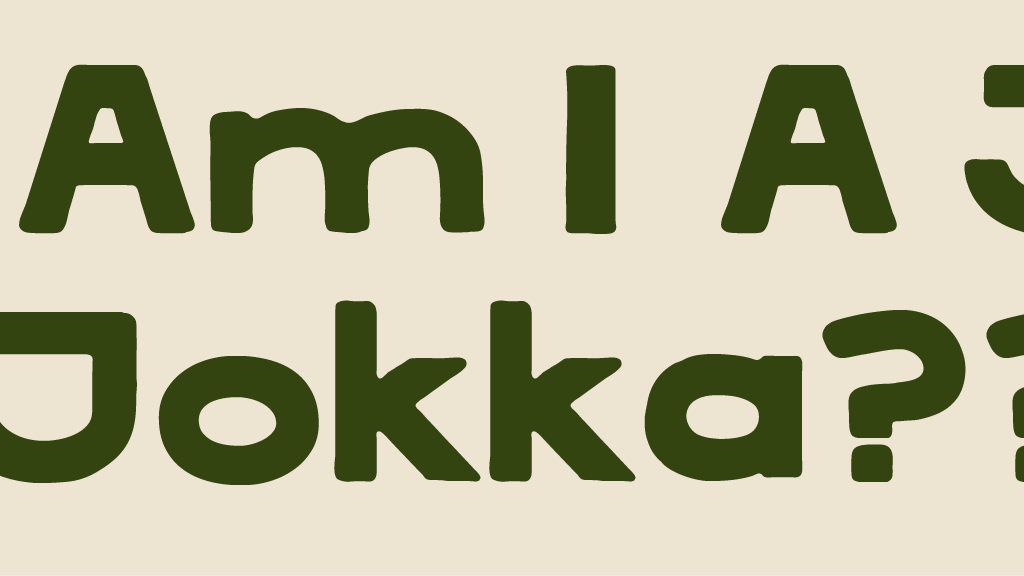
A friend suggested the name Jokka — a word from Bugis meaning walk. However it can also mean vacation or holiday. I thought the meaning fit perfectly with the theme of this project.
Digitization

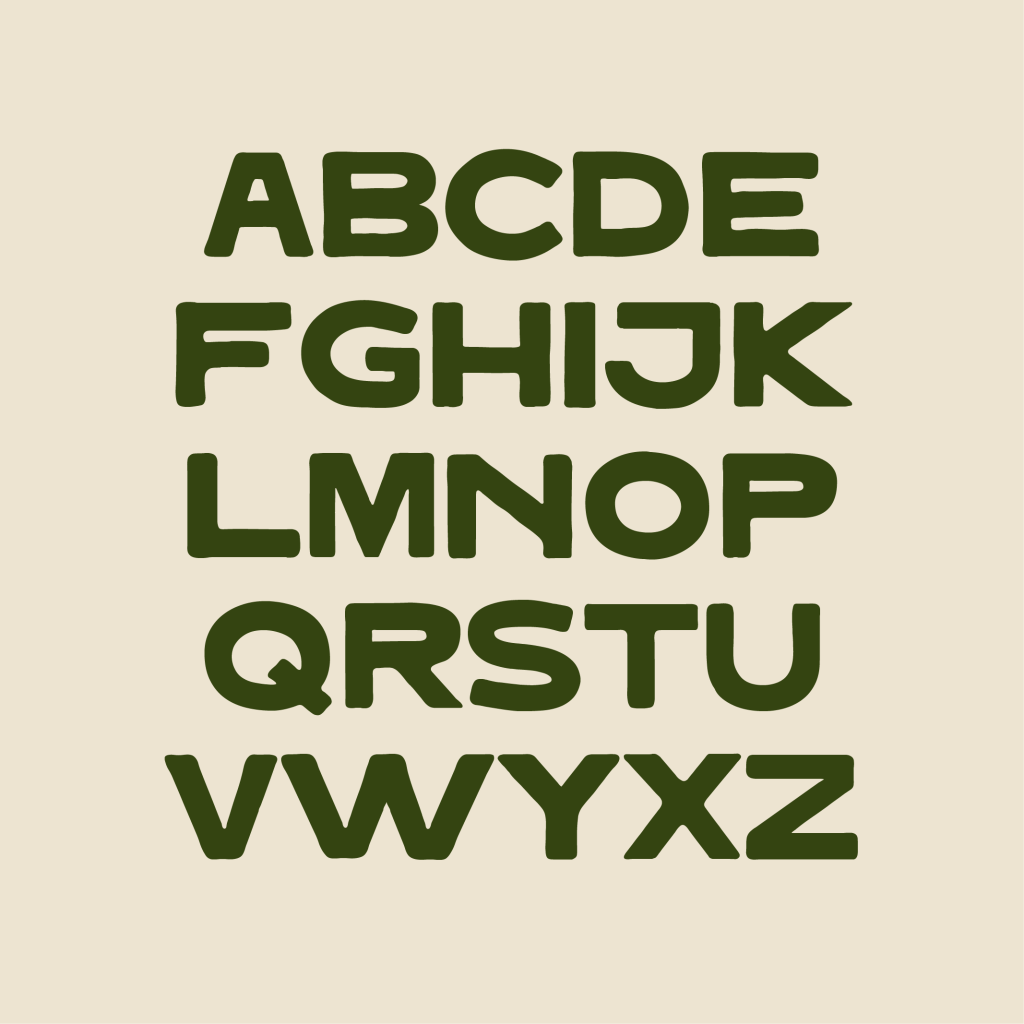
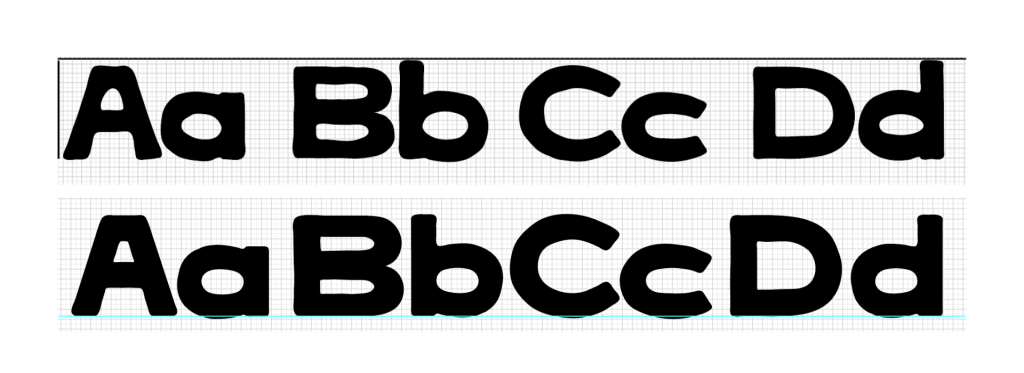
Before proposing my idea, I attempted to sketch and digitize what I had in mind. In order for the letters to stay consistent, I started with the basic letterforms first to maintain letter width, stroke thickness, and equalizing the counter forms before doing the customizations. In the first digitization process, I aimed for an overall consistent width of each letter and stroke thickness. Using the feedback given by Mr. Vinod, I refined my uppercase letters until they were consistent in width, stroke thickness, and counter forms.
With my uppercase letters, I used my letter ‘H’ and ‘O’ as guidelines to the letter widths, thicknesses and counter forms. The process of perfecting the uppercase was quicker than I had expected so I was able to start on my lowercase.

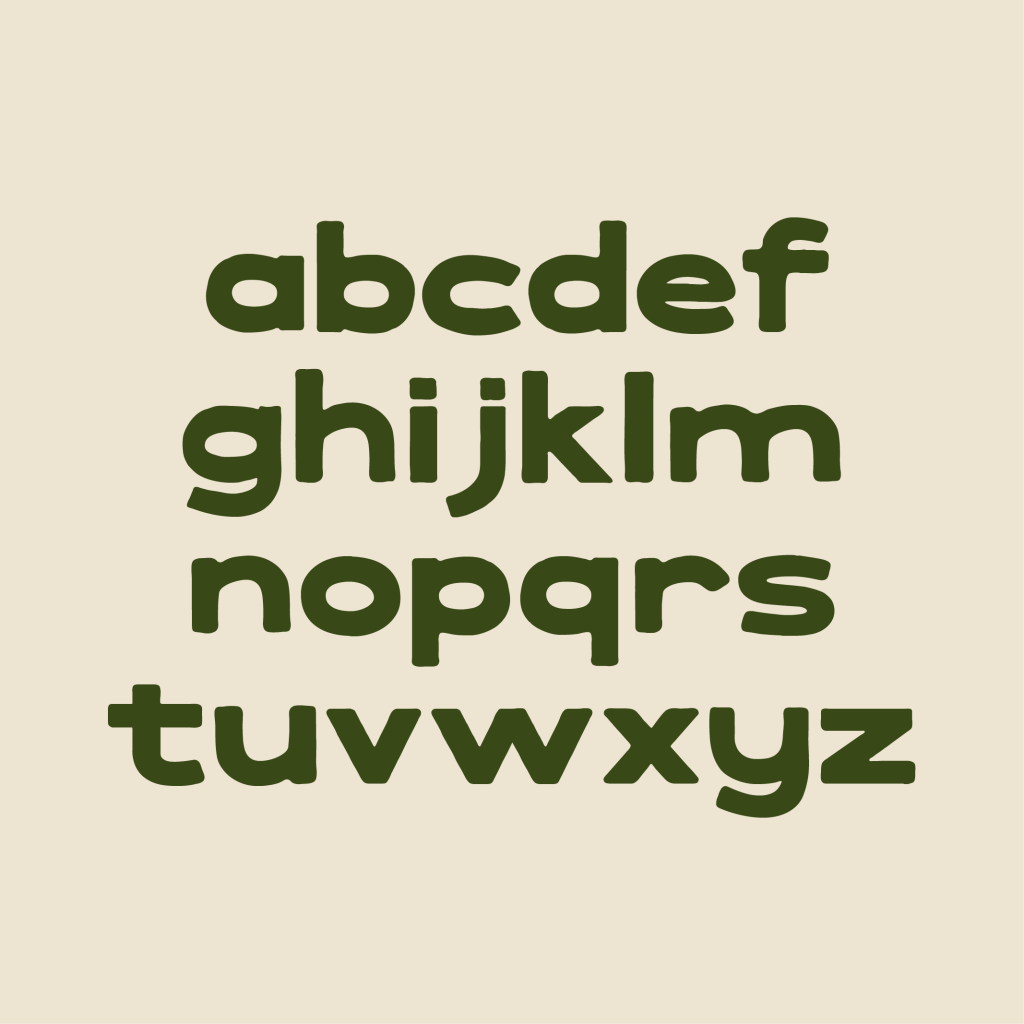
With the uppercase serving as my guide, I continued to my lowercase letters. Admittedly, the lowercase took more time to refine and perfect. Similar to the uppercase, I used my ‘n’ and ‘o’ as guidelines for the letter width and stroke thickness. With the letter ‘o’, I formed letter ‘a’ which then became the basis of letters such as ‘b’, ‘d’, ‘p’, ‘q’, and ‘g’.
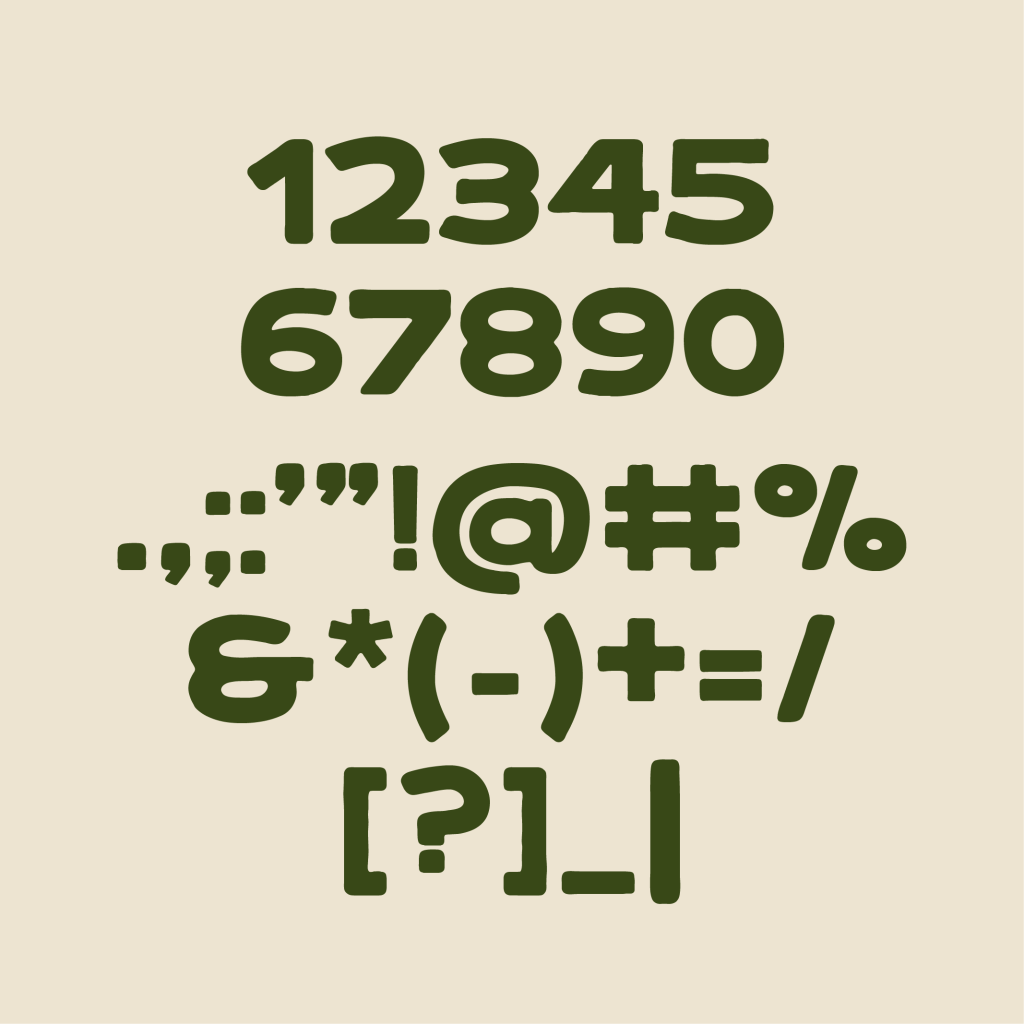
I proceeded to create set of numerals. I reused my ‘3’ as a basis to start other numbers such as ‘5’ ‘6’ ‘8’ and ‘9’. The process for numerals took far less time and fewer refinements.
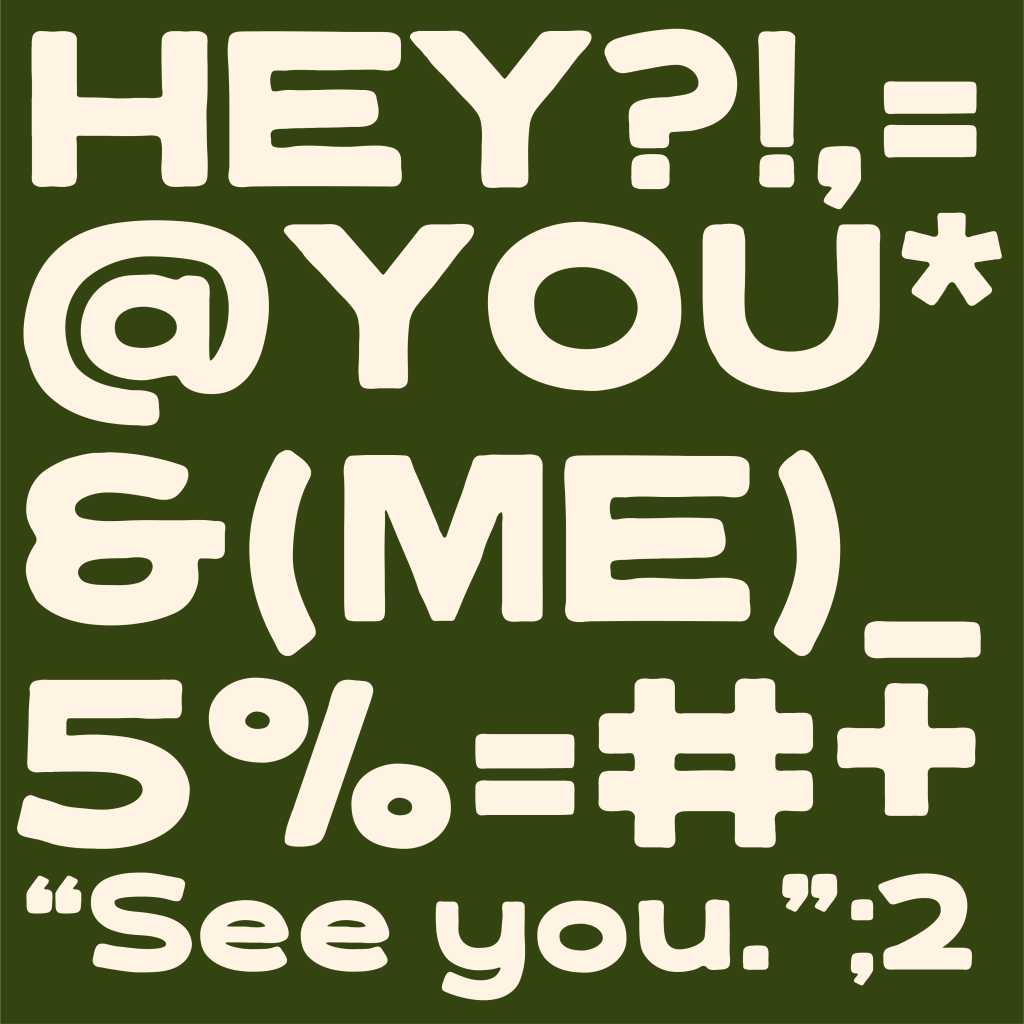
Lastly, I did my punctuation and symbols. I used the period as a base to set the thickness for the other punctuation. The same period is also used in other punctuations such as the exclamation mark, colon, semicolon, and more.
When I thought that my letterforms were ready to be customized, I realized the thickness of the uppercase and lowercase was drastically different because I did not compare them side by side. Resolving this issue, I decided to refine each letter side by side.
Customization
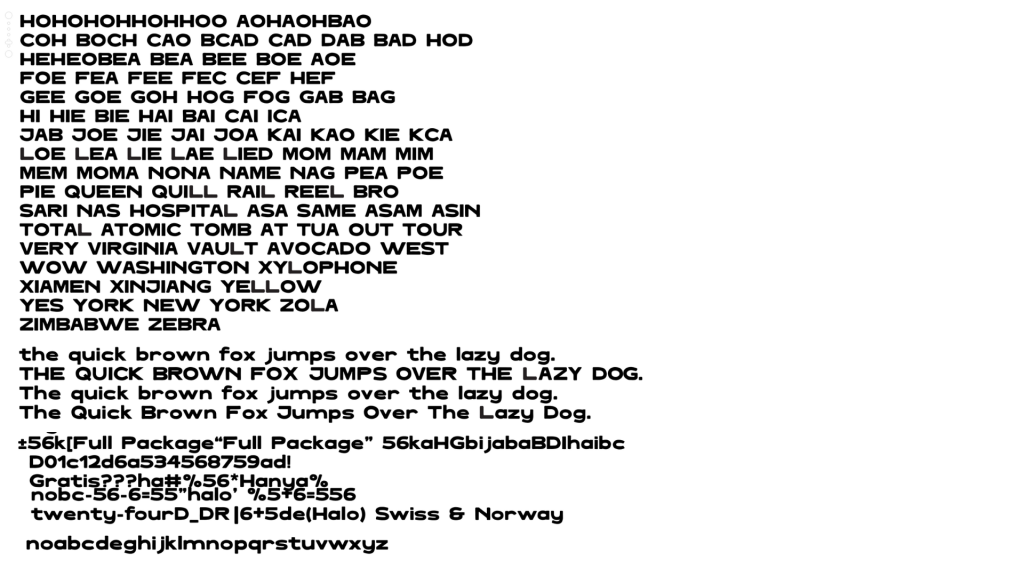
Adding the imperfect strokes was done using the pencil tool with the fidelity set to be more accurate than smooth in order to avoid the smooth pencil tool changing the stroke thickness of the letters too much. The tool allowed me to free-draw over the anchor points, changing the once neat and straight to a bit of a wonky look. Rounding off the sharp edges was also done using the same tool. Instead of going with the corner-rounding feature Adobe Illustrator offered, I felt that using the pencil tool would create a more ‘imperfect’ round-off. The challenge for me was to maintain a good amount of ‘wonkiness’ to avoid the letterforms being inconsistent. I did a trial with letters ‘A’ to ‘G’ and imported them to FontLab 7.

Here, I noticed that the strokes looked too rough and when enlarged. It looked quite inconsistent in the stroke thickness. I refined the customization to be more subtle. Because of this, instead of finishing the customization and importing each letter to FontLab 7, I did both simultaneously. Aside from this, I also noticed some inconsistency in my letterforms. In figure 1.5, the counter forms for the first lowercase were inconsistent. After one letter was customized, I imported them to FontLab 7 to see if the pencil tool made the letters look a bit inconsistent when put against other letters.
FontLab 7 – Kerning
After every letterform had been successfully imported into FontLab 7, I began work on the kerning. To ensure my kerning was accurate, I began with the chart of side bearings that Mr. Vinod had provided for us. Difficulties came when I had to set the side bearings of letters with a lot of counter forms. When it came to the numerals and the punctuations, I did not find any guide, so I set the side bearing with the counters considered. I started with 20pt if there was no counter form. With sides that have a counter form, I narrowed the amount to between 11pt and 13pt.
I applied same amounts to the punctuation — I set each side between 50pt and 51pt since the punctuation would need more space on either side such as for a colon or semi-colon, I set a larger amount for its side bearing.

Font Presentations and Font Applications
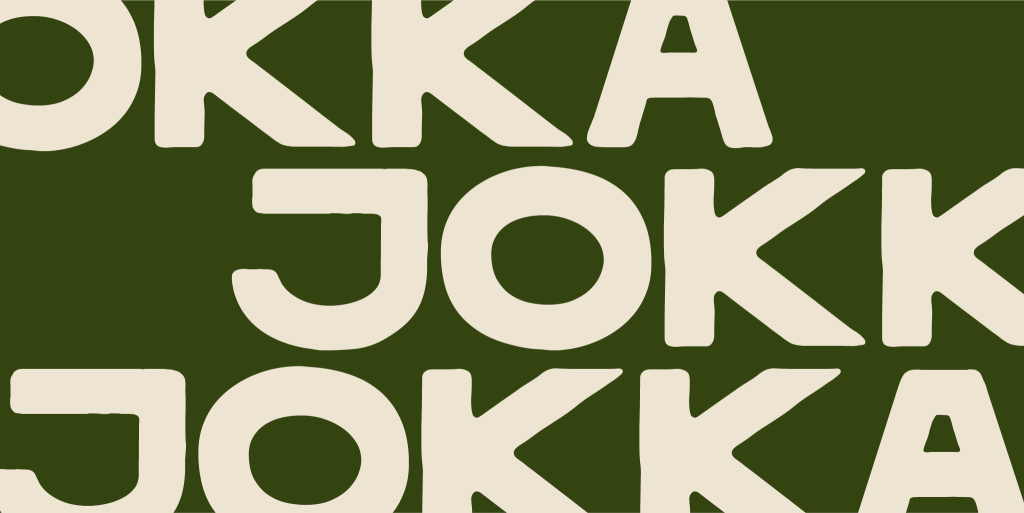
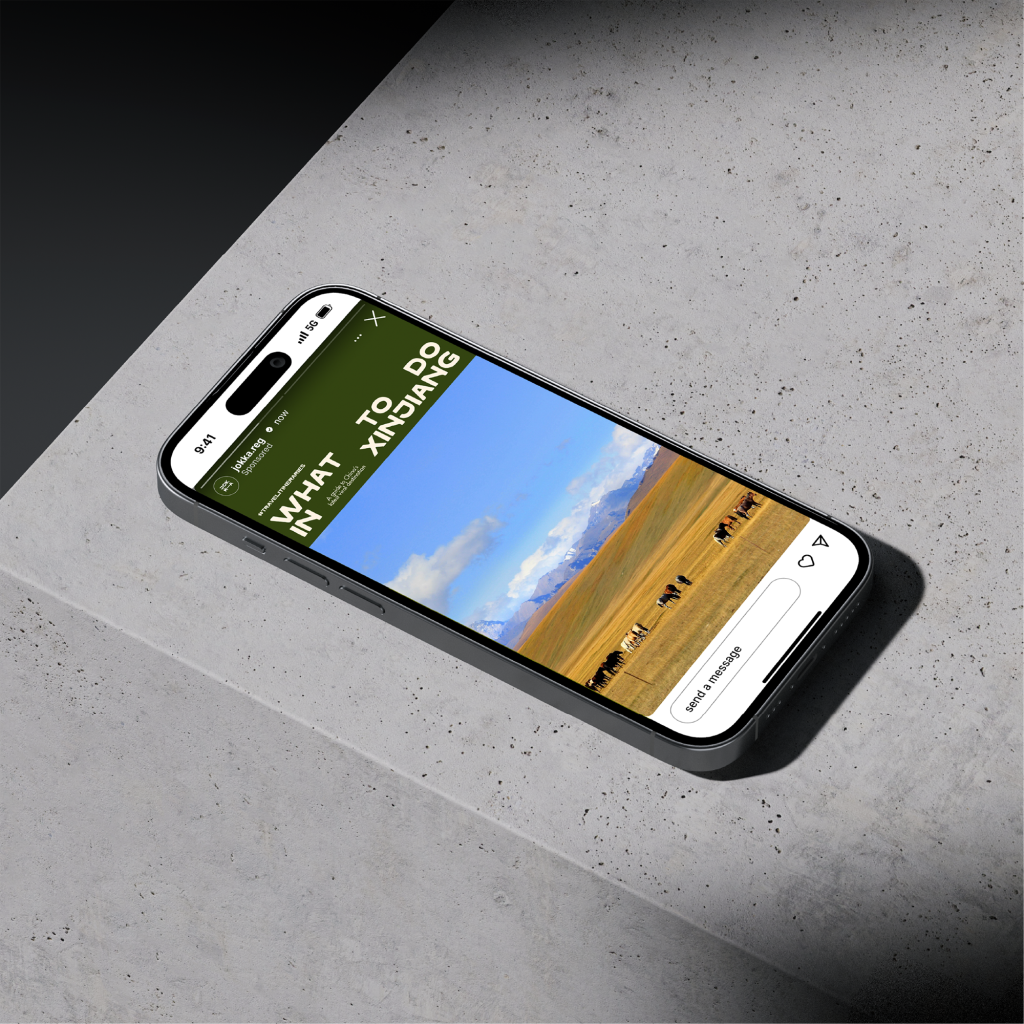
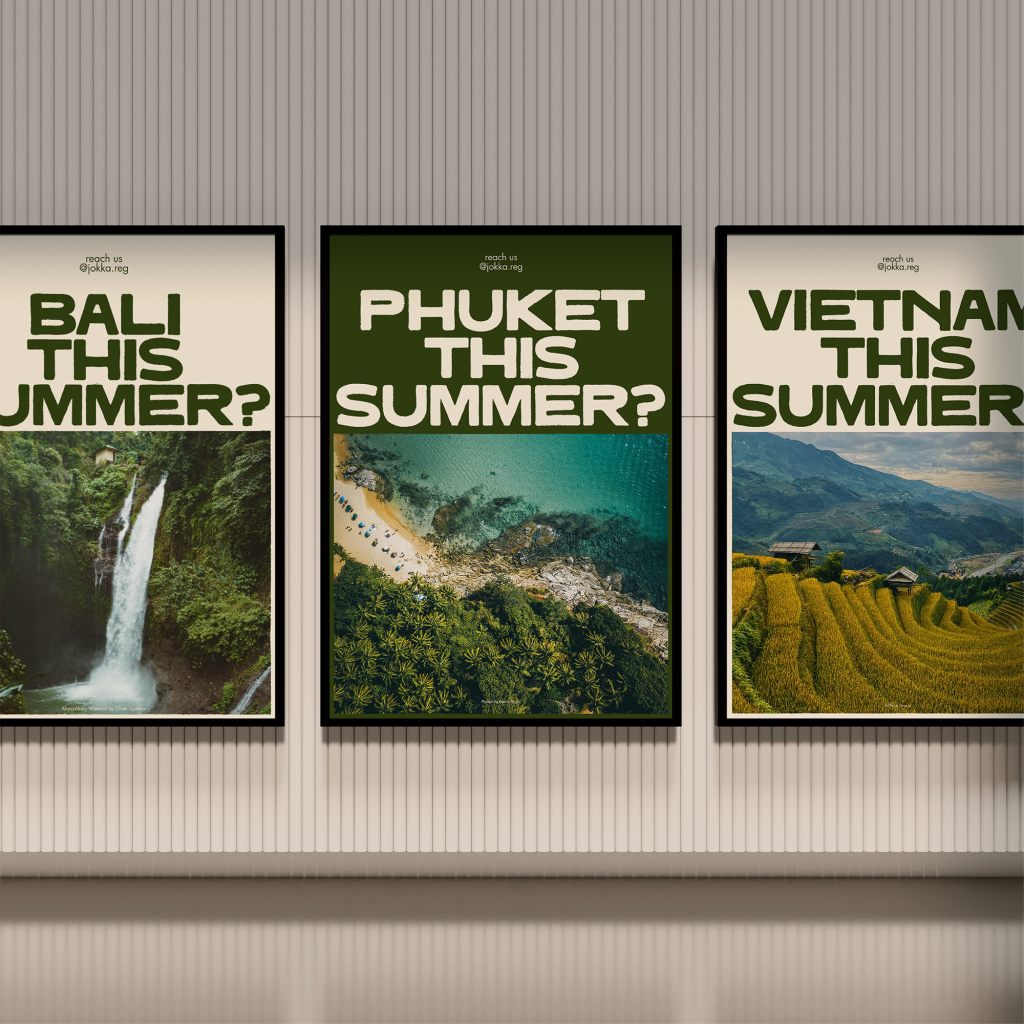
For my font presentation, I wanted to display the font in larger sizes since it is a display font. Moreover, I was inspired by many type foundries I found on Instagram that utilized big letters and kept their font presentation simple. I hoped to show the punctuation and numbers among the letters.
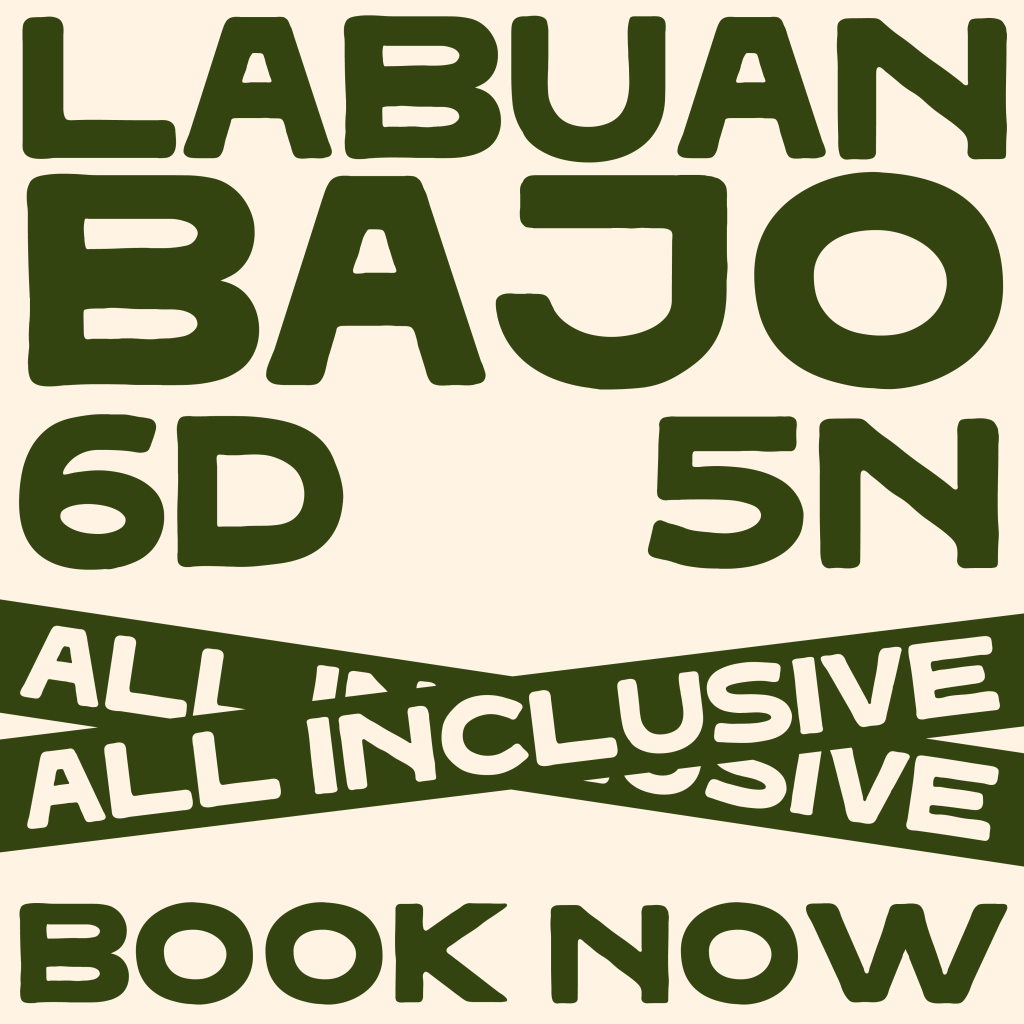

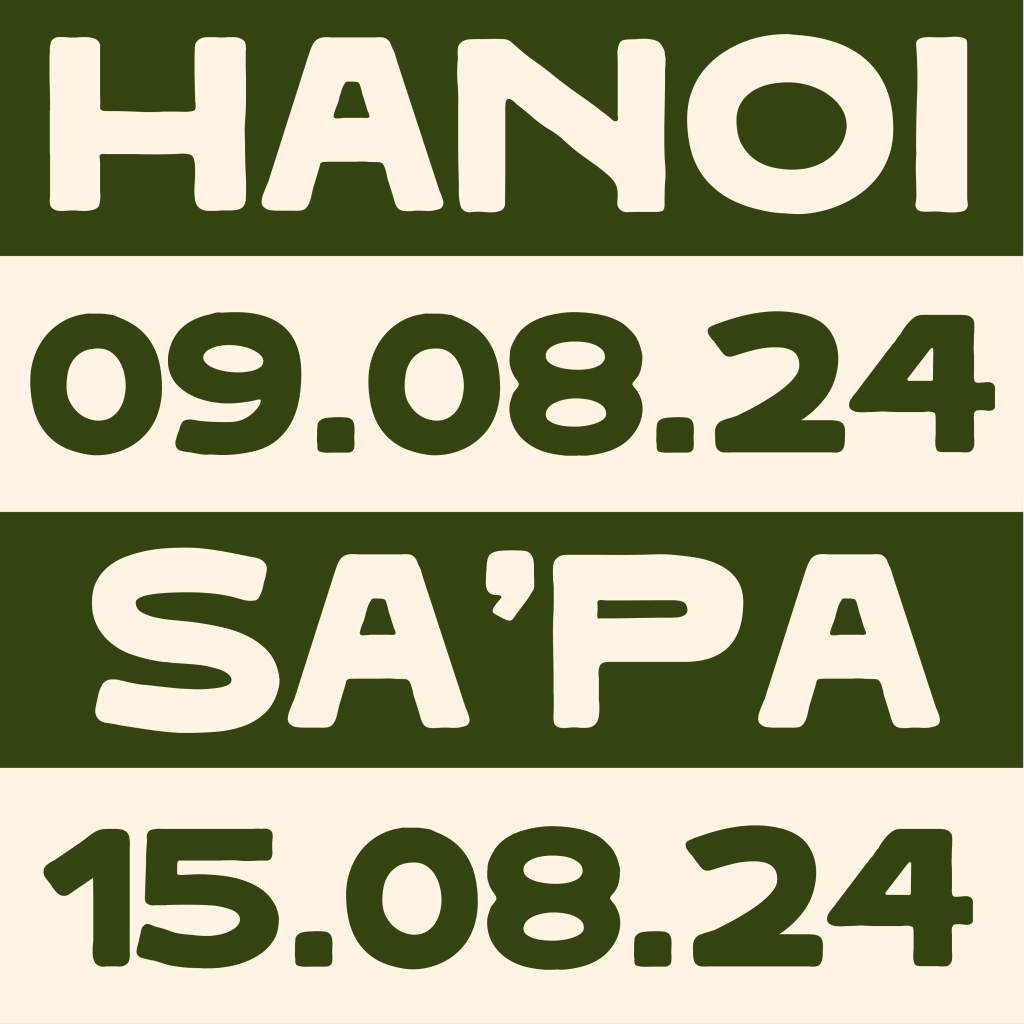

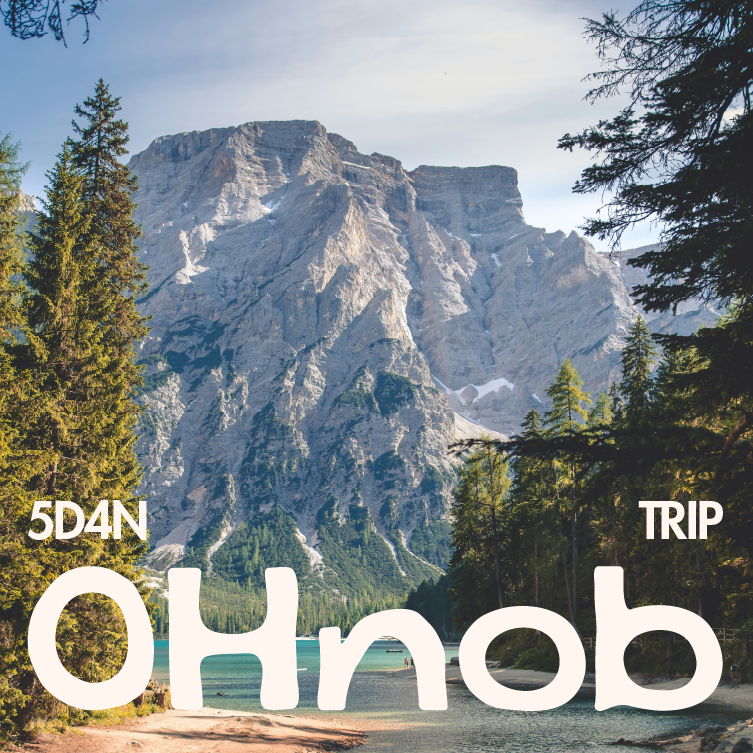
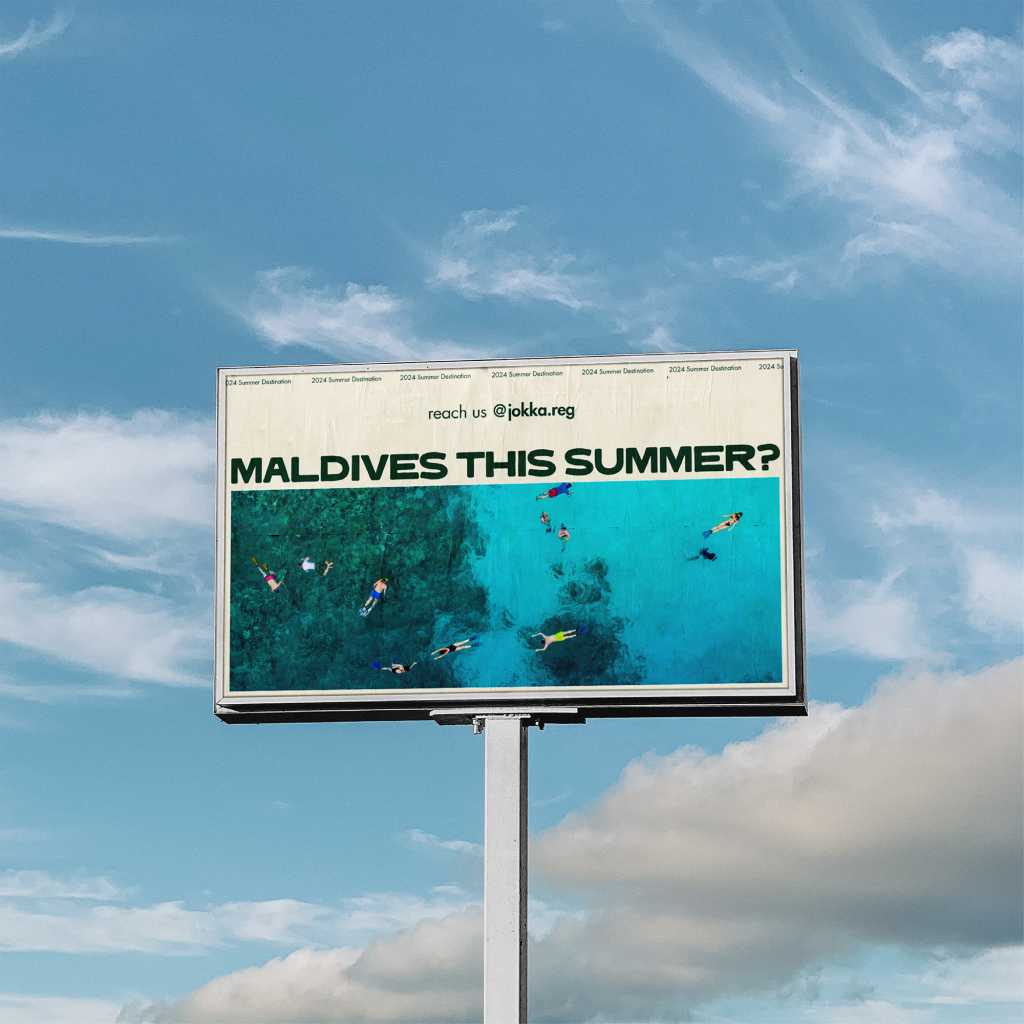
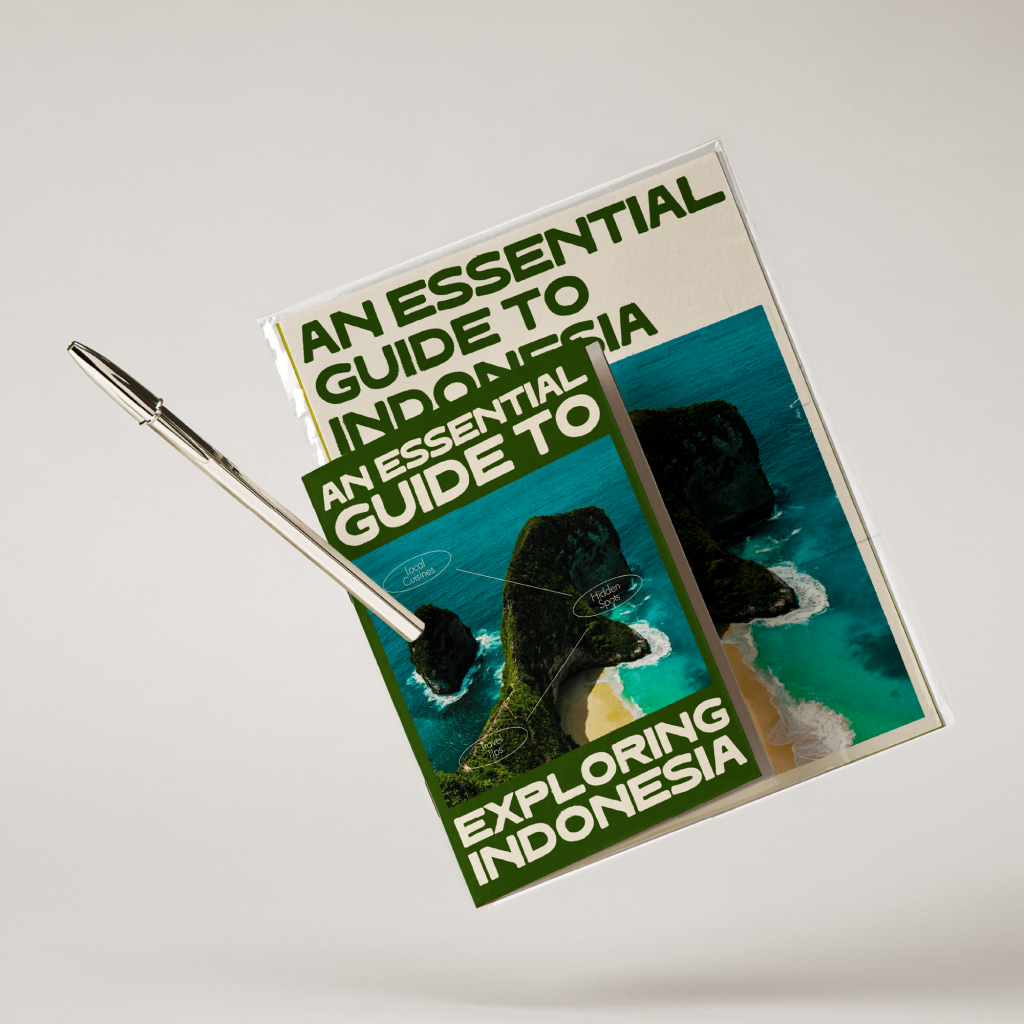
My font application is focused mostly on promotional materials such as billboards and posters since I hoped for this font to be used for such purposes. To ensure consistency throughout my application and presentation, I used the same color palette and words. I also attempted to use mock-ups that were located in real-life situations instead of studio-taken photos.

Upon completion of this project, I felt quite satisfied and accomplished with the result. I did have issues during the process but they were a product of my own carelessness. Nevertheless, I believe that each step of this project is a lesson to be learned and remembered.
I now, admittedly, have way more appreciation toward every font I see and every type designer I come across. This entire task has truly deepened my understanding of typography, especially type design.